
Your shopping cart is empty!
Team Raffee Co. Defender D90 Scale Body Build
18549 Views
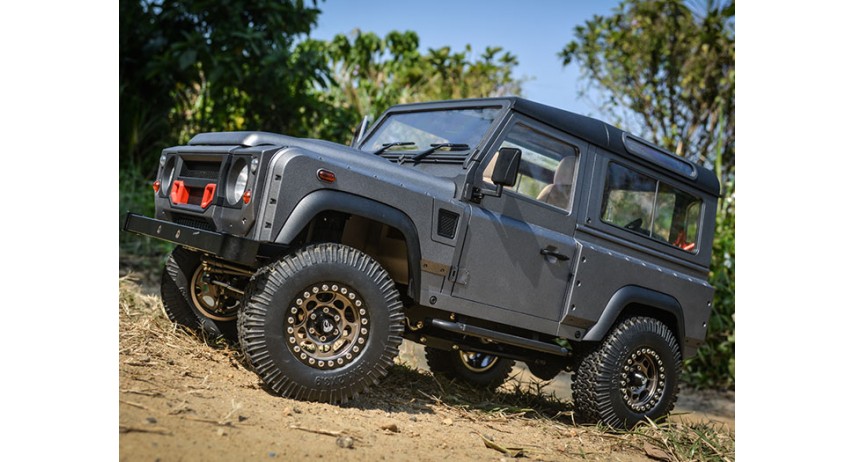
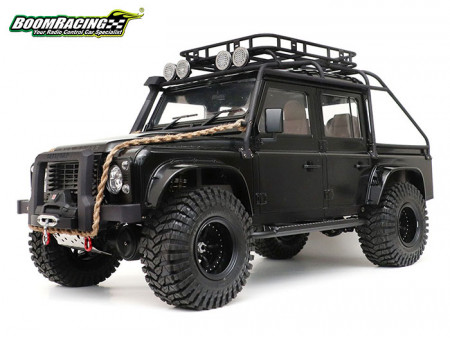
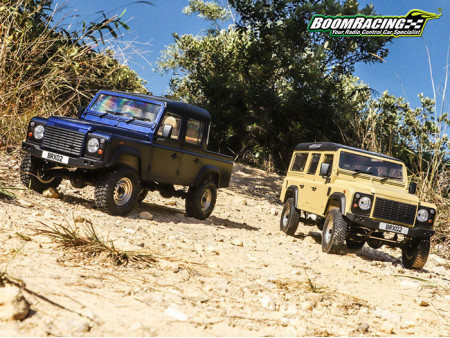
One of the most popular Defender bodies is the KHAN Defender D90. Here is how you can make your own.
We have been seeing lots of interest in building your own Defender D90 and D110. With the availability of so many nice Defender products, new Defender clubs are starting in many places. So we decided to do a body build to show everyone how to build this KHAN Defender D90.
Preparation
To start out with the build, I trimmed and cut out all the pieces that were needed from the plastic molded tree, and the extra plastic that supports the body frame. Once I checked everything is okay and the pieces fitted together nicely, I gave it a little sand down to give the paint something to grip to. A little tip: do not to use cores sandpaper. Before you start to spray paint anything, wash the body and parts to get rid of dust, grease and releasing agent used in the molding process.
Spray Paint
Prime the body and all the pieces, use dark color primer for darker color tones and light color primer for lighter color tones. I used Tamiya TS-38 gun metal for this KHAN body so I used a black primer, as so it is easier to cover and wanted to have a darker tone to it. For the interior I used light gray primer because I wanted it to have a brighter color tone to it. The paint I used for the interior was Tamiya TS-68. After priming and painting all the gun metal color, I masked out everything I didn’t want black paint on, then I proceeded to paint the black parts of the body with Tamiya TS-14. For the windows I was extra cautious and masked them up carefully. I painted the edges rubber black using Tamiya TS-82. I also wanted a matt look so once everything was painted and dried out, I taped the doors to the body from the inside so I know the color will match. Then I sprayed a couple of coats of flat clear Tamiya TS-80 over all the outer panels, this also helps to protect the paintwork.
Assembly
Now once everything is painted and dried, the next step is to assemble everything. Make sure you do not scratch anything. When assembling the parts, some screw holes were a little hard to screw into, so I used a body reamer and lightly opened up the holes. Make sure you don’t open the holes up too much. Some parts do require gluing but make sure you don’t put too much glue on as it might squeeze out everywhere.
Detailing
Now once everything is assembled you can then go round and do some of the fine details such as your light lenses and your scale accessories. Below is a list of all the parts I used to do this build. All the parts and scale accessories used are available here on ATees.com. If you have any questions about this build feel free to ask for advice on the comment section below.
Parts Used
TRC D90 Defender Body (TRC/302223)
Kahn Front Grill (TRC/302228F)
Fender Kit (TRC/302229B)
Boom Racing Chassis (BRQD90V2)
Chassis Extension Kit (TRC/302225)
Front Bumper (TRC/302205BK)
Rear Bumper (BRQ90323)
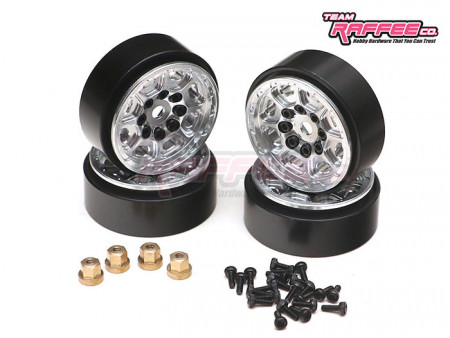
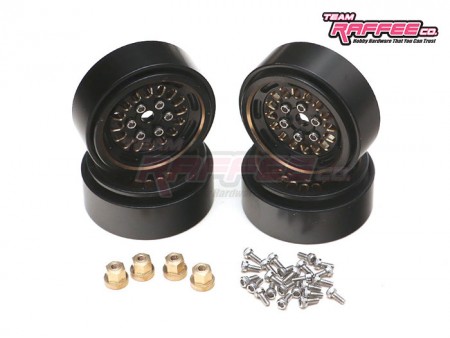
Beadlock Wheels (BRW780901GM)
Tires (BRQ32487 or BRQ32486)
Scale Accessories
1/10 Recovery Ramps & Sand Board (1) Orange (TRC/302231)
Tool Box Set (2) (BRSCAC80105)
Beach Chair (BRSCAC016)
Rope (BRSCAC091)
1/10 Scale Military Ammo Box (TRC/302230)
1/10 Scale Accessories Alloy Shovel (BRSCAC80139)
Full Metal High Lift Jig for 1/10 Crawler (BRQ90256)
Tow Rope 400mm (1) (TRC/302222)
1/10 Scale RC Alloy Winch Hook And Wire Rope (Large) TRC/1120-790067)
Laptop (White) (BRSCAC057W)
PHONE A Gold (BRSCAC131GD)
Winch Anchor & Shakle - 1 Set (BRQ90282)


Thank you for reading. If you have any questions about this build feel free to ask for advice on the comment section below. Until next time!
Recommendations For You
More Featured Stories
Refine your results
Brands
© 2024 Team Raffee. All Rights Reserved. | Privacy Policy | Terms & Conditions | RM 202, B Block, 26 Changjin Street, Longgang District, Shenzhen